When we were searching for homes, and I started to become more and more set on the "Brady Bunch house", Joe (the most awesome real estate agent ever), offered to help me with the floors in the basement. The brown just had to go. So, once he got that job underway, the basement stairs just grew worse and worse. One of my friends asked me if I thought the previous owners got a special on carpet scraps, because there are so many different types. This carpet was no different- it's a nice Hunter green. Now, as I ripped down the wallpaper, painted, and construction on the bathroom was going on, we didn't do the best job of protecting this beautiful carpet. No matter how many times I vacuumed, I just could not get it all up.

On Pinterest, I kept seeing tutorial after tutorial popping up about removing carpet from stairs. They showed how to replace the treads and riser, but treads run pretty pricey- between about $20-$50 a piece. And it's a carpet I don't have to look at too much, so I thought that I could deal with it. But as the basement floor continued to go down, I realized I couldn't. So I peeled the corner up to take a peek. I figured I could tear it up and just paint the stairs. Maybe a black, and it would still look better than now! So I decided, I was going to do it. got a little braver, and peeled up the next couple steps. Underneath, I found that the stairs were actually in pretty good shape! Not perfect, and the edges had some paint that would need a good sanding, but I decided then and there that I would rather stain than paint. So after a little research, I found that I would have to go buy conditioner, stain, and polyurethane. For a grand total of $30.


I had a friend that mentioned it was much harder than Pinterest made it look, but it was actually one of my simpler projects! First step was to rip up the carpet and carpet pad, and throw it out on the curb (my neighbors must really love me- every weekend I leave a fun surprise on the curb- a toilet, a sink, a vanity, cabinets, shelves, etc). Then I had to peel up all the tack strips, nails, tacks, staples, etc. This is time consuming, but not too bad. I had a little mini crowbar that was perfect for under the staples, without digging into the wood.


And every time you think you have all the staples and tacks up, you will find more. Especially once you start sanding. Then part of you will be tempted to just sand down the staple because you're too lazy to go get a tool to pull it out. But then it won't work and you'll have to get the tool anyways.
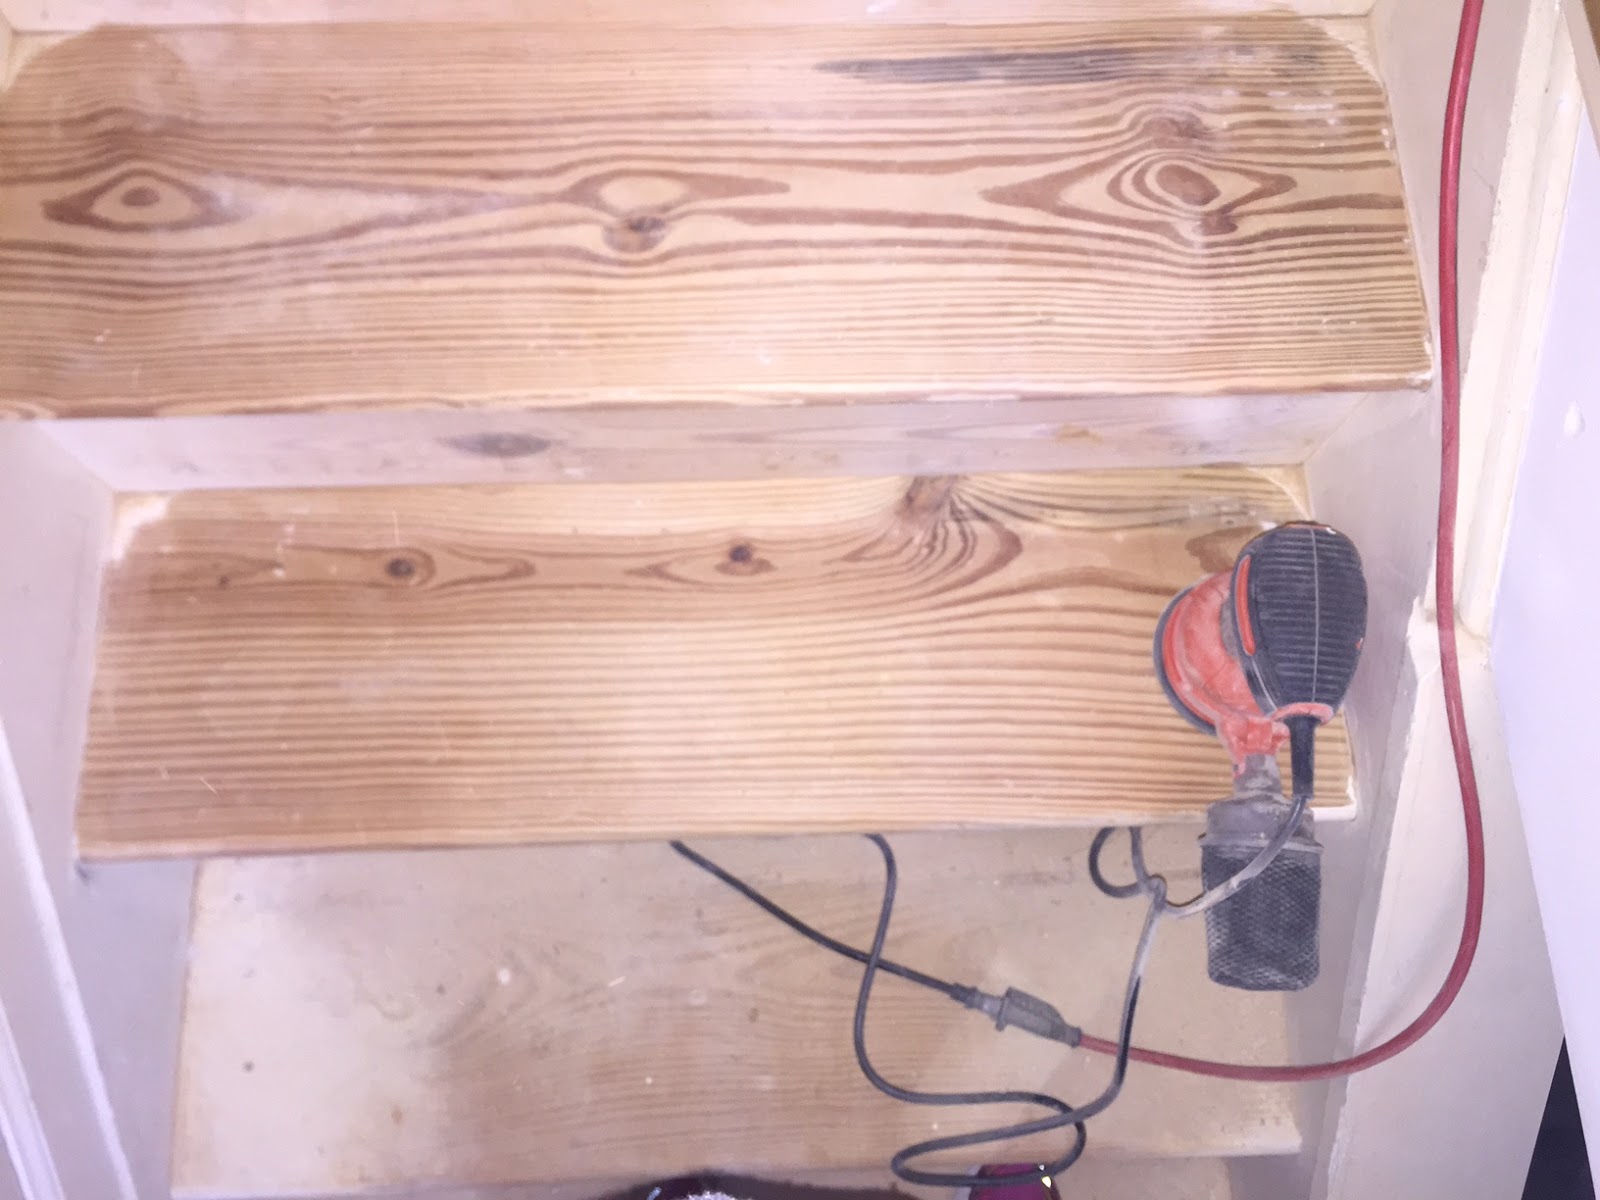
The sanding is ridiculous, but isn't too bad with a little palm sander. I think my sander might be my favorite toy that I have bought for my projects. Many years ago I spent hours sanding my Granny's tables to refinish them. By hand. With a piece of sandpaper. Now I can't believe I ever did that! My sander even has a little suction area that tries to vacuum up the dust, but dust will be everywhere. The after effect is that you will want to hire a cleaning crew cause you're too tired to get all the dust up yourself- just do it because you just saved all this money doing the stairs yourself. That means you totally have enough for a cleaning lady!
Even with a mask and goggles, I had to leave the house after sanding. I was covered in dust. My hair, my clothes, all three floors of my house. One important thing I have learned is to keep my bedroom door closed while renovating- then at least when I go to sleep, I'm not breathing in as much of that stuff. I'm noticing now that I don't really have the best photos from this project- they're all a little fuzzy from the dust, even a whole week after sanding!


The corners were the most difficult part. My sander is round, so I couldn't get quite all the way into the corner. I tried to just use some sandpaper, but it definitely wasn't perfect.
After that, I made sure I cleaned the stairs super good. Used a tack cloth to get up all the leftover dust and debris after vacuuming. Then, the stairs were ready for the conditioner. This is supposed to help the wood accept the stain better. I was already so excited just getting this on the stairs- I could see the details in the grain so much better.


When I went to Home Depot, I decided to get two different stains. I've made many new friends at the paint counter there. The floor in the basement is a dark gray, so I had been a little unsure about the color for the stairs... especially since I haven't decided on a floor for the main level. The two I picked were Varathane Carbon Gray (right) and Miniwax's Ebony (left). I was pretty sure I was going to go with the Ebony because the gray looked really light on the can. But, I decided to test it out on a piece of scrap wood, and this was the result:

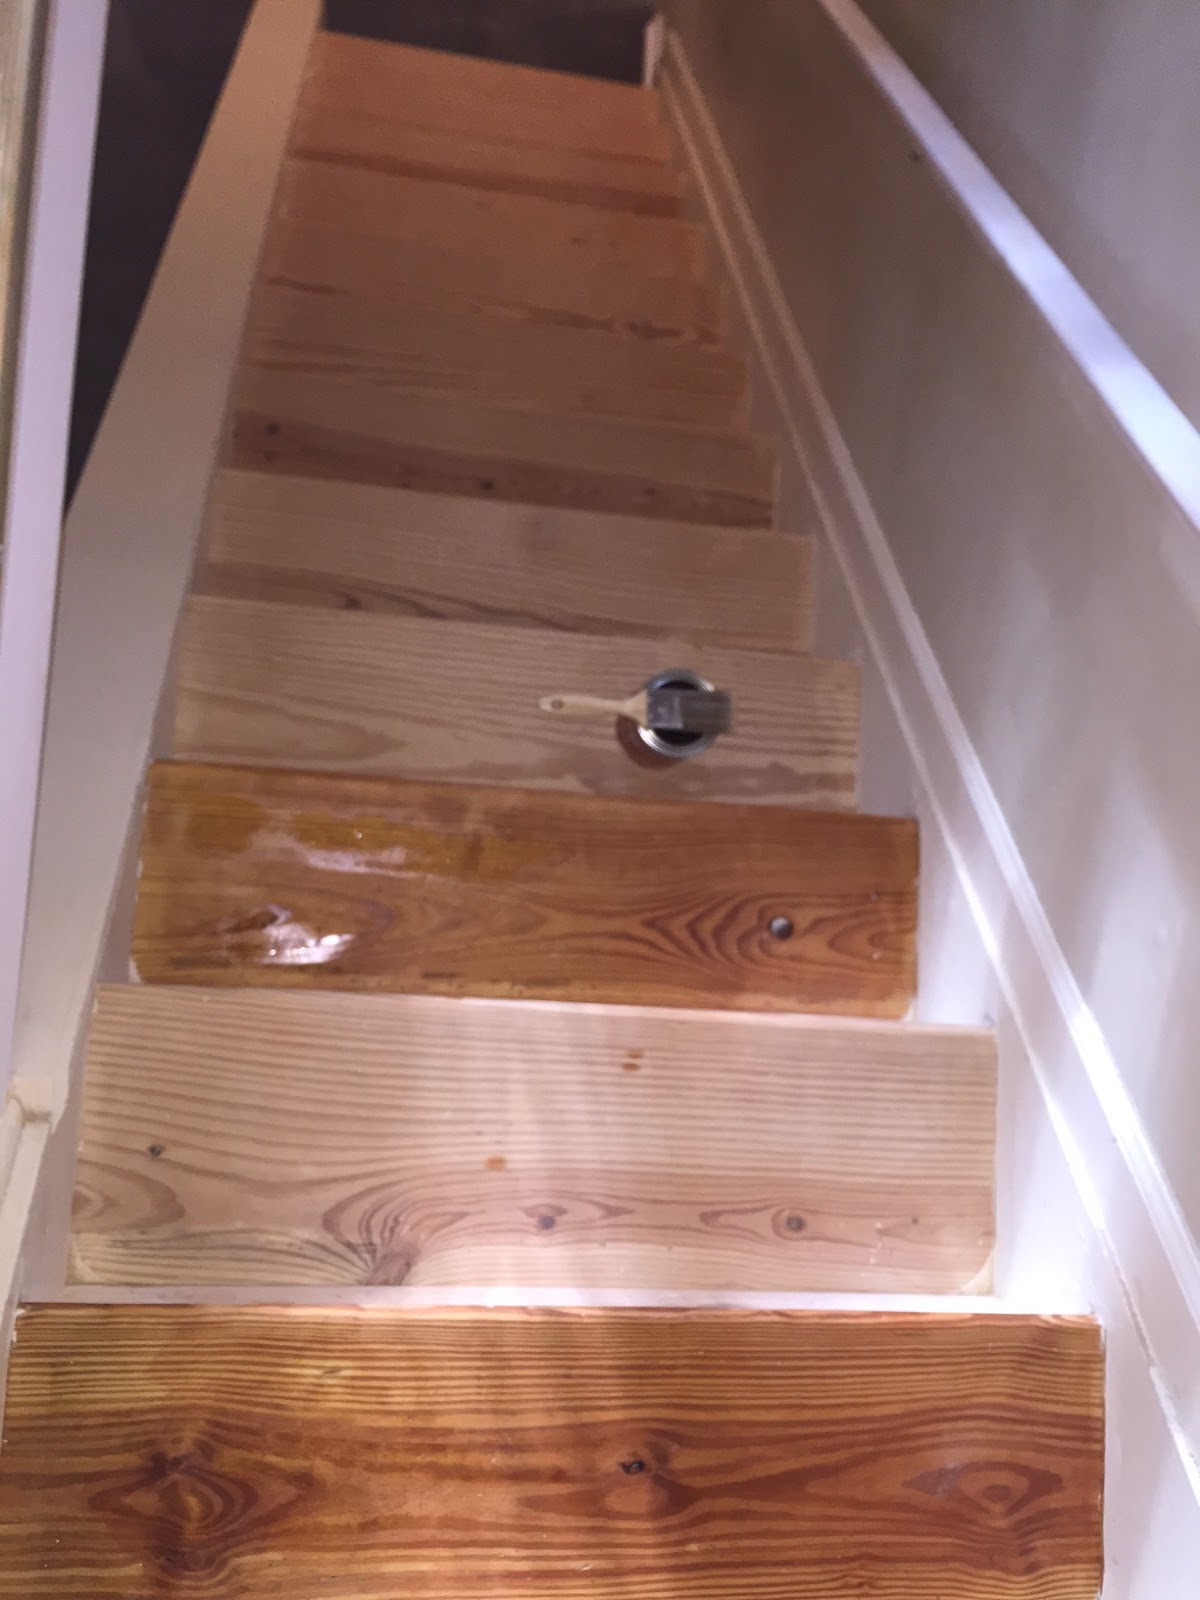
I HATED the Ebony. It looked like I had a kid use water colors on it. The Varathane looked so much darker and richer, and it didn't look nearly as gray as pictured. So then, I got to work painting every other step (this is so you can still go up and down- luckily there are some people that are way smarter than me on pinterest). From everything I had read, they recommended doing the stain BEFORE painting the risers white! The stain is easier to cover up with the white paint than the stain is to get off of it. I chose to paint on the stain, and wipe it with a clean cloth- I went through almost an entire bag of cloths! I picked the fast drying stain, so I waited about an hour and applied the second coat to that half of the stairs.


By then, it was almost 1AM on a Friday night, so I decided to go to bed and let it dry. I probably could have gotten away with doing the other stairs, but I was nervous about stepping on it so soon. The whole time I worried about the drips and spots on the other stairs. But don't worry, it will all be ok!

The next day, I did the other half, and I was in LOVE <3 I might have close to 60 photos of this project because I could not believe what a dramatic difference it made!

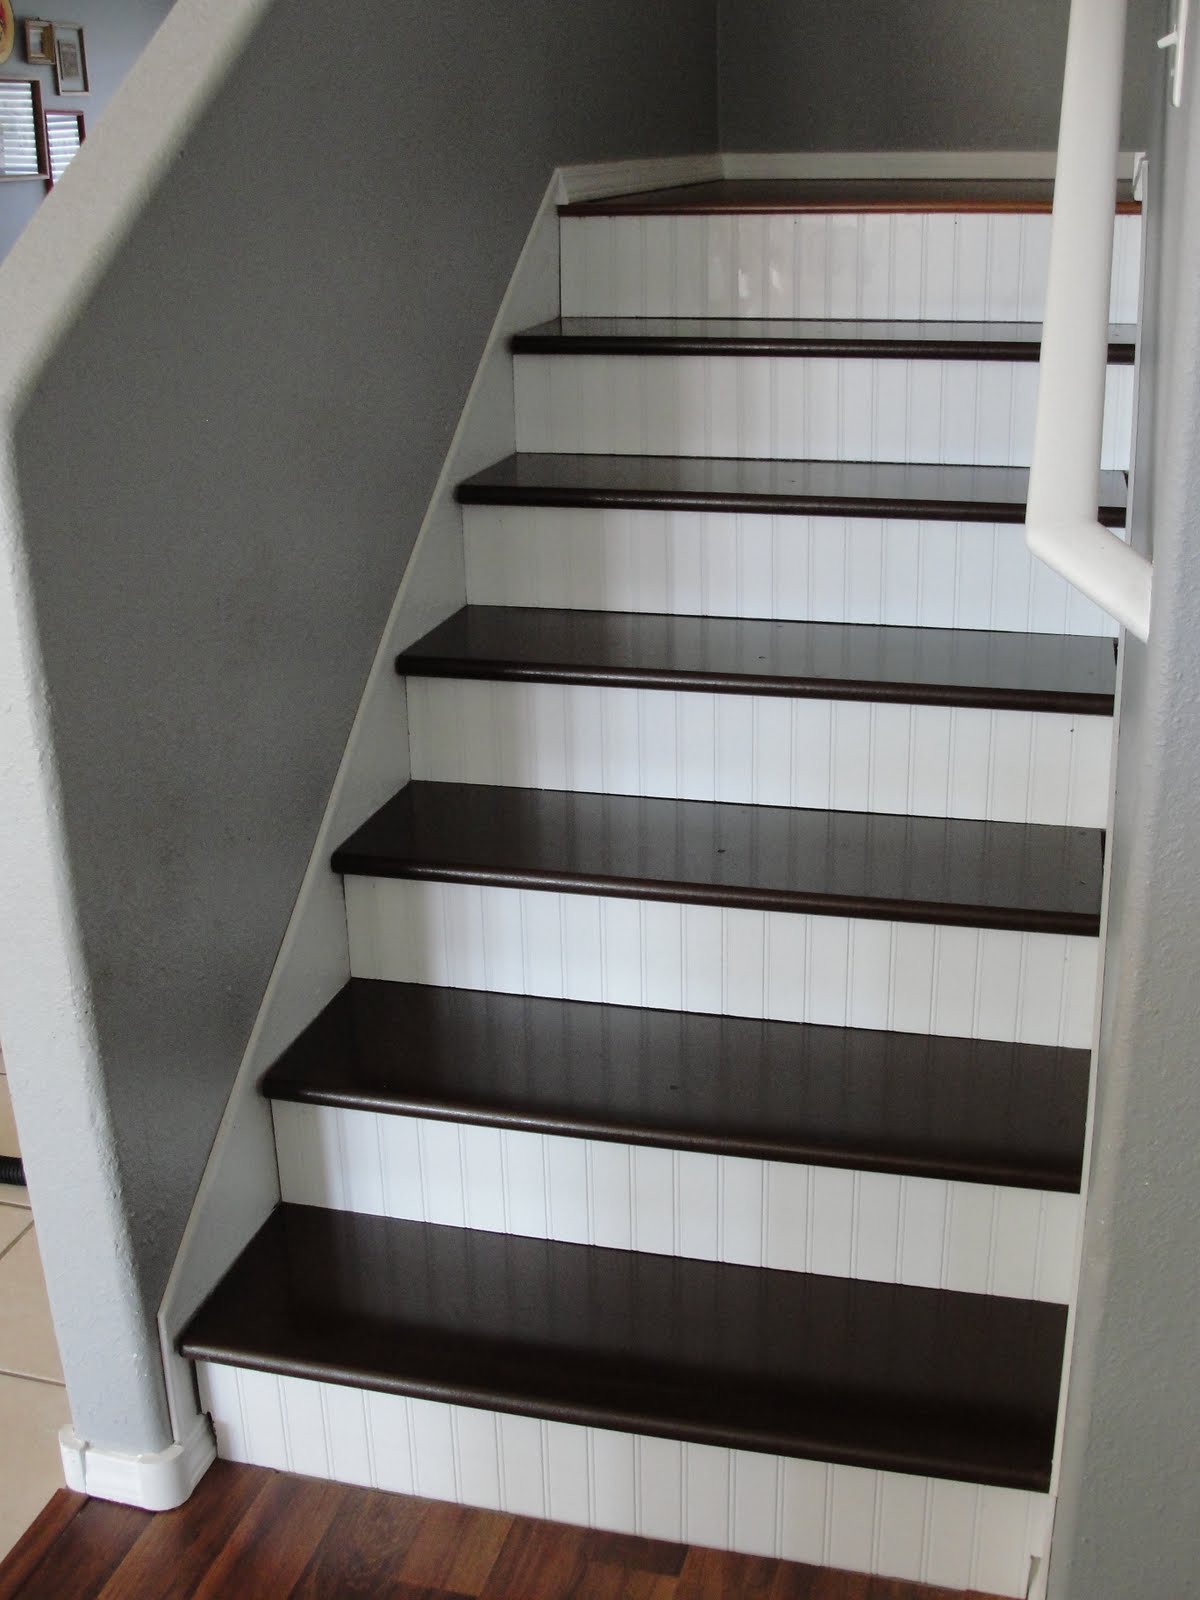
Once I had done two coats on all the stairs, I let those dry overnight again. The hardest part of this project was the wait time in between steps- I totally like to knock a project out all at once. In the morning, I taped everything off so that I could paint the risers. This part made me really nervous, because I was afraid the Frog tape would peel up the stain. So I opted for the yellow Frog tape, it's supposed to be gentler on freshly painted surfaces. I taped everything and then used the same Semi gloss white paint I have been using for all the trim.


One day, I'd love to do bead board for the risers like this blogger for a more polished look, but that is a project for another time:
I'll leave you with a sneak peak of the new banister that is stained the same color (don't judge that the stairs need to be vacuumed)... that and a bit of caulk updates the whole stairway. Oh, and the banister is actually in some studs now :P
